We were set the following tasks:
- Product scanning in order to obtain data for CAD model creation.
- Restoration and/or optimization of the object shape with subsequent building of a CAD-model and development of design and process documentation for handover in production.
The object was scanned in the working shop with artificial lighting. Supports to maintain the part shape were used during scanning. Scanning was performed with the equipment operating and vibrating.
Scanning was performed using manual (portable) laser 3D-scanner Scantech KScan20.
The scanner was calibrated prior to work. Preliminary preparation of the part for scanning – wiping, degreasing, sticking of marks takes up a significant part of the whole work time. Sticking of marks took about 30 minutes. Part scanning took about 30 minutes.
One-time marks were stuck on the part “Hydrocyclone volute” for scanning.
As a result, data for reverse engineering was obtained. A CAD-model and design documentation for manufacture of this part were created.

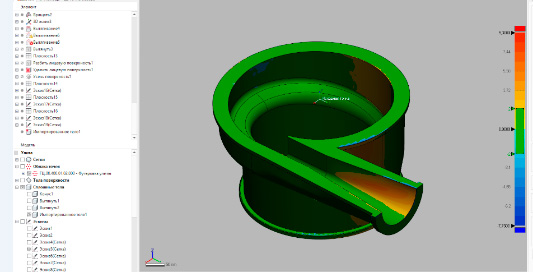
Figure 1 (Analysis of the obtained model for deviations)

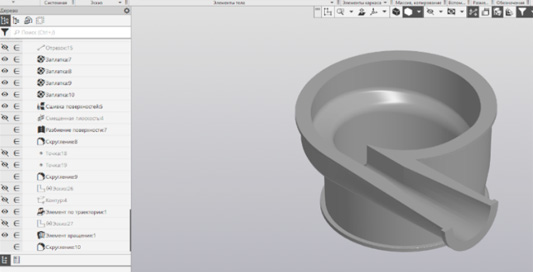
Figure 2 (CAD-model for DD drawing-up)
